Hey, hey fellow adventurers! Thank you so much for purchasing one of our United We Stanley Lightroom Preset Packs! By downloading these travel-inspired presets, you can transform your IG feed with just one click! Each United We Stanley Lightroom Preset Pack includes 6 Lightroom Presets that were carefully designed with traveling, romance and every day family life in mind. We hope you all love them as much as we do and can't wait to see them come to life on your feeds!
After purchasing the preset pack, there are a few ways to import the presets into Lightroom. First you will need to download Lightroom Mobile and/or purchase Lightroom for desktop.
Step 1: Download the files. The presets will come as a zip file containing DNG files that you can either download to your computer or directly to your phone in the files app. Once you download the zip file, you will need to save each individual DNG file to your camera roll. Each file is a separate preset, so you will have 6 files total. They may look like blank files until you import them into Lightroom.
Desktop:

Mobile:

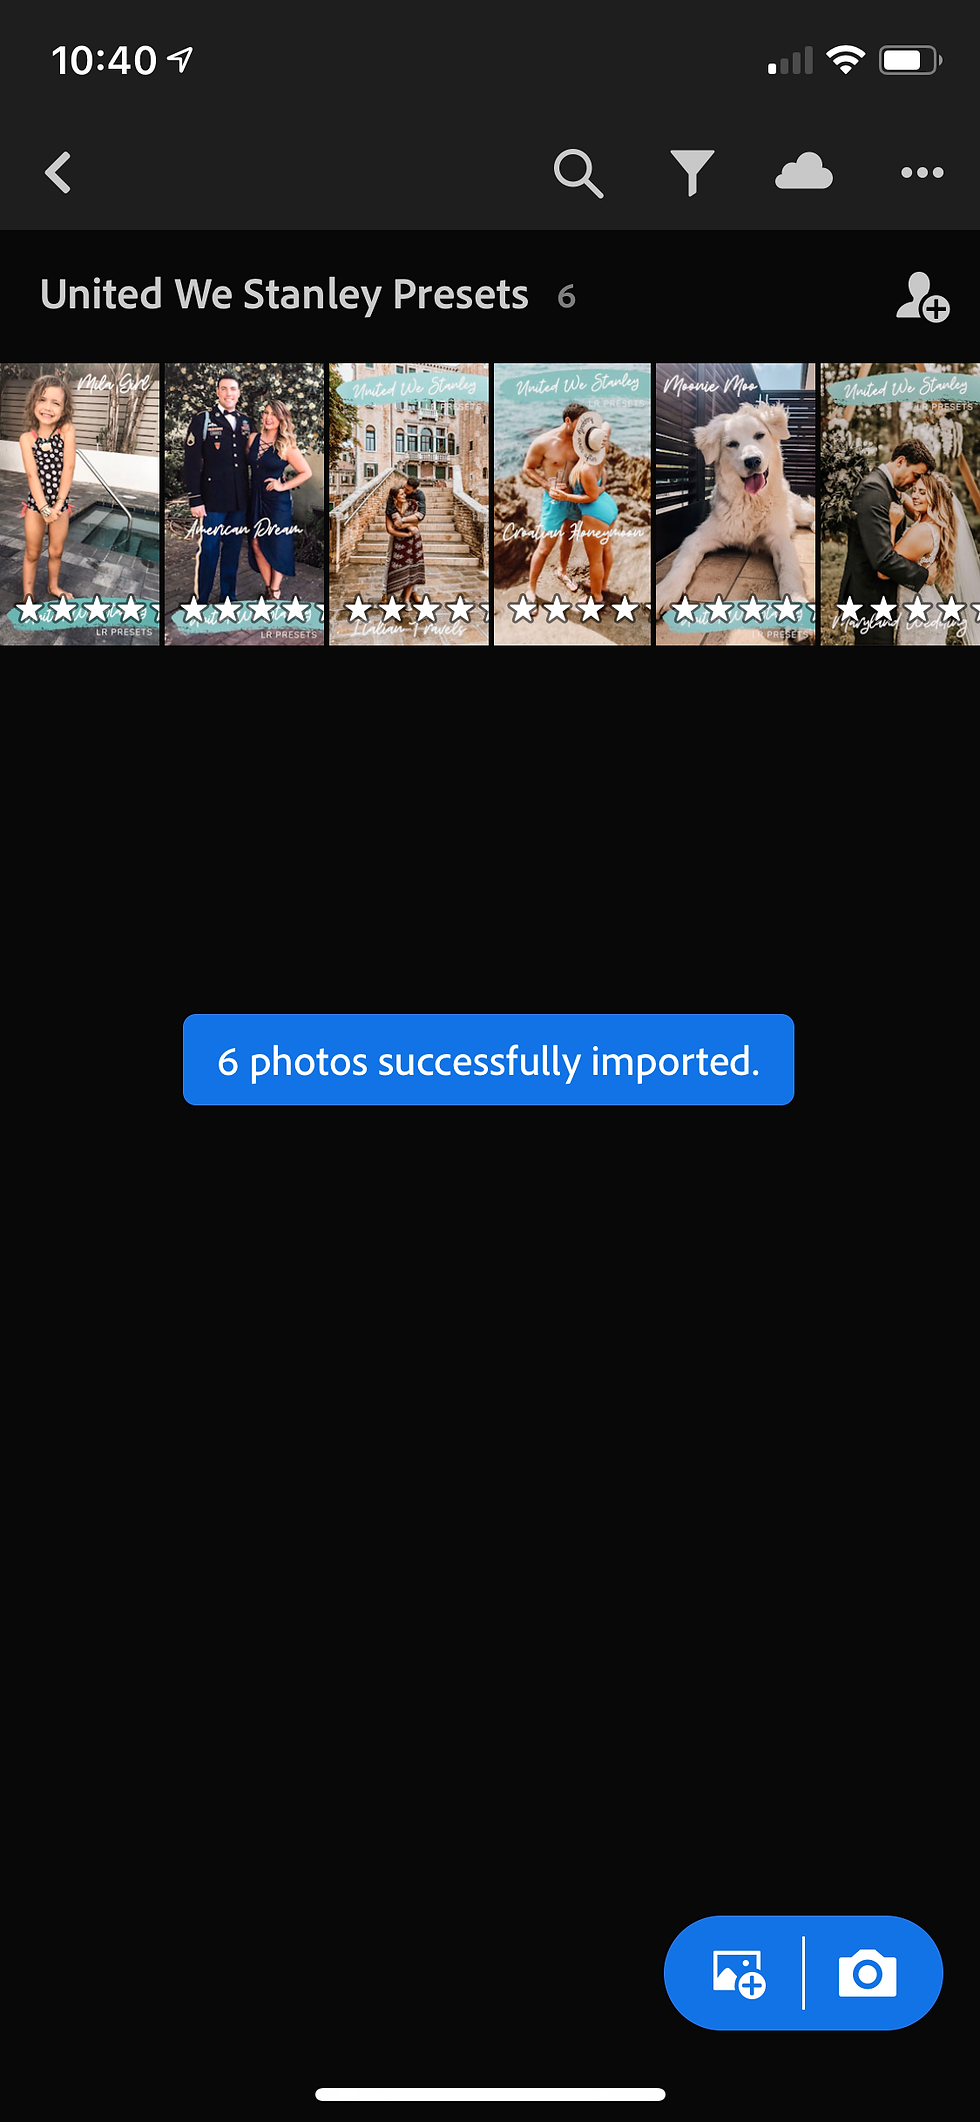
Step 3: Import the files into Lightroom. At this point you should have all of your DNG files saved to your desktop or your camera roll. We recommend creating an Album in Lightroom called United We Stanley Presets to keep things organized. Open your new Lightroom album and import the photos by selecting all of the DNG files from your computer or camera roll.
Desktop:

Mobile:

Step 4: Create Your Presets from the Files. Go into the album containing your newly imported DNG files. Open one of the files and find the Create Preset button. You will either tap on the plus sign under Presets on Desktop or the 3 dots icon at the top right of your phone screen for Mobile.
Desktop:

Mobile:

Next, you will see the New Preset screen which contains all the options you can use to customize your preset. You will have to give each preset a name and then choose a Preset Group to save it in. You can use our pre-made preset names which can be found on each photo, or create your own. Then save the preset in the User Presets folder or create a United We Stanley Preset group (recommended). All boxes should be checked except for Tools, Optics and Geometry.
Save the preset by tapping on the checkmark icon at the top right corner. You will need to repeat these steps for each DNG file to save all 6 presets. Be sure to give each their own individual name so you know which preset is which.
Step 5: Using Your presets. To use your new presets open any photo you’d like to edit and find the Presets icon in the menu at the side or the bottom of your screen. You will need to locate the folder that contains your new presets, then hover or tap on each preset from your list and select the one that gives you the desired look. The presets will look different for different lighting situations, so you will have to play around with them and make any adjustments to get the photo to look how you prefer.
Desktop:

Mobile:

After applying your presets, you can share them on your social media platforms as you wish! You don't have to credit us, but we'd love to see how our presets transform your feed! Use the hashtag #unitedwestanleypresets for a chance to be featured on our Instagram Story! Have fun and thanks for supporting our adventures! Be sure to pin this blog on Pinterest to save the directions for later! Hover over any image in the post to share it to your board!


Comments